
Food photography is now widely accessible to anybody, with smartphones and compact cameras able to take amazing images ready to use. Since almost everyone owns a smartphone, whether Android or iPhone, it’s possible to capture delicious pictures perfect for Instagram, blogs, and even magazines. With just a few tips, you can achieve stunning results, this is especially useful for London food brands looking for quick and authentic ways to create content online.
Why would food brands want to use smartphones for food photography?
If you don’t have the budget or interest in investing in a professional camera, smartphones are an easy entry point for passionate foodie photographers. They are far less bulky, increasingly powerful, and more convenient than professional cameras. There’s also the argument that certain social platforms (such as TikTok) prefer more lo-fi “native content”, which can be easily achieved by taking quick snaps and videos on smartphones.
Still, for hero shots or advertising, most brands choose to invest in a top London food photographer who can deliver the best quality images. And if you’re curious about budgets, read my full guide on how much London food photography costs.
Essential phone food photography tips for beginners
These tips focus on creating great images for social media with a simple setup.
1. Use natural light
Lighting is the starting point of photography, observe it carefully. See where the shadows are, how big they are, how strong the light is and from which direction is it coming from? During a photoshoot I have been asked many times if I wanted the restaurant lights on; people think having artificial lights on helps, but artificial light often makes food look flat, adding orange or blue tones depending on the bulb. On the other hand, natural indirect lighting is a great resource that can make colours and textures pop. This is generally available in every location, so make the most of it!
2. Try different angles
Find the best angle for your dish. Some foods work best from above, others at 45˚, and some at eye level. This is what I found:
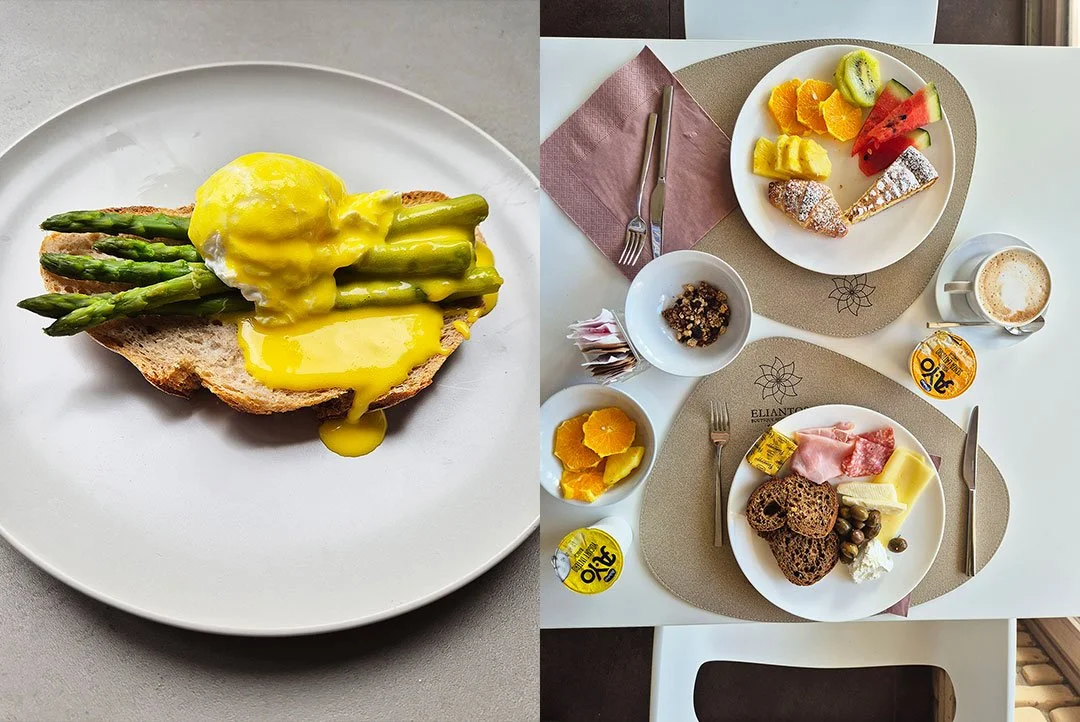
Overhead shots (flat lays): Best for multiple dishes or flat foods such as pizzas.
45 degree shots: Great for plates with some height, like pasta dishes.
Eye-level shots: Perfect for cakes, burgers, and drinks.
Overall, overhead shots tend to work best on smartphones, as depth of field (naturally blurred backgrounds) is harder to achieve on a phone compared to professional cameras. Still, food can look more natural and honest on a phone.
3. Use interesting props
By using interesting props, I mean choosing plates and bowls that have textures and that have some interesting features without detracting the attention from the main subject, your food!
4. Play with colours
When it comes to colours there are some interesting rules, such as playing with similar tones of the food, or playing with complementary colours or even plain colours so the food pops in your images.
5. Composition tricks
If you haven’t heard of the rule of thirds, you will soon. Imagine splitting your photo into three sections both vertically and horizontally. Placing key elements at the intersections of these lines creates more engaging images. Switching on your camera’s grid helps you apply the rule of thirds for more balanced, professional-looking food shots. If you’re using an iPhone, here’s Apple’s official guide to turning on the camera grid. Less is more, the motto never fades: start with a simple background in neutral tones and just a few props. The more you add, the more you distract from the star of the show, the food.
6. Editing like a pro
There are several apps that give your phone professional editing powers, such as Snapseed and Lightroom. I use Adobe Photoshop Lightroom, which is just as good as the desktop version, if not better, it’s so easy to use. I always aim to create a great shot in camera to start with, then I will adjust brightness, contrast, and textures in editing without overdoing it. The food should still look natural.
Advanced smartphone food photography settings
Learning manual settings on your phone gives you more control and can make your images look professional. To see how the pros work with these same principles in a studio, read my breakdown on what do food photographers do.
1. Master exposure with ISO & shutter speed
ISO controls light sensitivity. The higher the ISO, the more noise (grain) in the image. Keep it as low as possible (100–200) and test the difference at higher values.
Shutter speed affects sharpness, especially with movement (pouring shots, steam, fire). Use faster speeds for sharp images or slower speeds (like 1/60 sec) for creative blur. For slow speeds, a tripod is useful.
2. White balance for true colours
Artificial light can distort colours, so you may need to adjust white balance manually to keep food looking natural. Even natural light changes: sunny days (5500K) and cloudy days (6000K) produce different tones. Take the time to learn about lighting temperatures and work manually when you can, as many London restaurants use warm interior lighting.
3. Focus & depth of field
Many beginners forget to focus properly. Always tap on the screen to focus on the most important part of the dish, maybe a basil leaf on pasta or sauce being poured.
Aperture also plays a role in creating sharp or blurred backgrounds. On iPhones, this is usually in portrait mode. Try shooting the same subject at f/2.8, f/4, and f/16 to see the differences.
4. Use a tripod for stability
In low light, a tripod helps keep your shots steady and allows for long exposures. It also gives you more creative control.
5. Explore courses and tutorials
If you’re serious, consider an iPhone food photography course to refine your skills further.
Best smartphone photography practices across all phones
Be consistent: stick to a style, especially for Instagram or TikTok. Think about plate sizes, colours, and your overall identity.
Always clean your lenses with a microfibre cloth before shooting.
Take multiple variations, you may find a hidden gem when reviewing your shots later on that you dismissed in the first place.
Experiment with styling: add fresh herbs, drizzle sauces, or include utensils for context.
Just like anything else, smartphone food photography is about practice. The more you shoot, the better you’ll get. Start with the basics: natural light, composition, and editing, then move into advanced settings if you want near professional results.
Follow these techniques and you’ll be on your way to capturing mouthwatering, scroll-stopping images. Ready to take your brand visuals further? Hire a professional London food photographer today.